slipdisc exercises to try or avoid
Herniated Disc Exercises To Be Try or To Be Avoid?
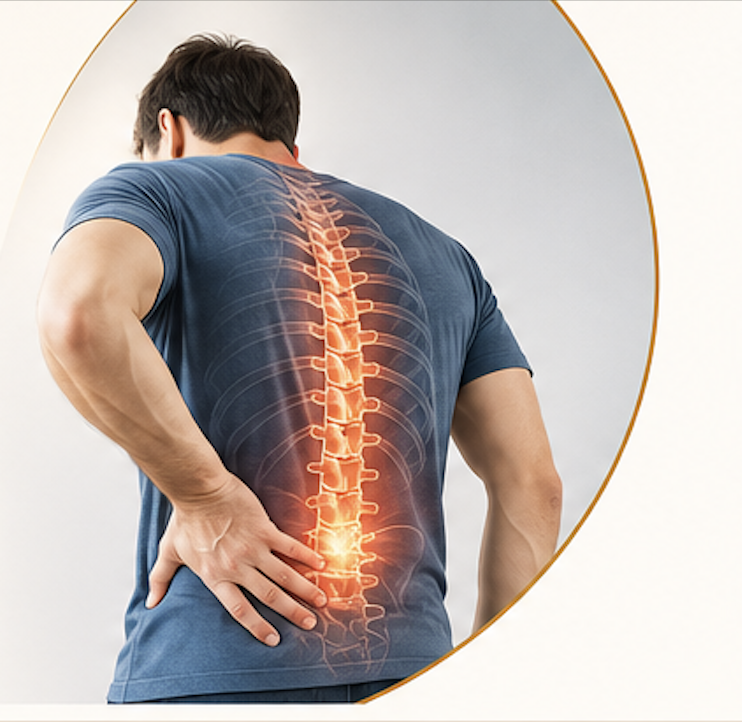
A herniated disc is one of the most painful – and common – back injuries in the U.S. Once you receive a diagnosis of the herniated disc, you may have questions about using exercise to help heal your back. Here are 14 safe herniated disc exercises to try (and four herniated disc exercises to avoid!).
What is a herniated disc?
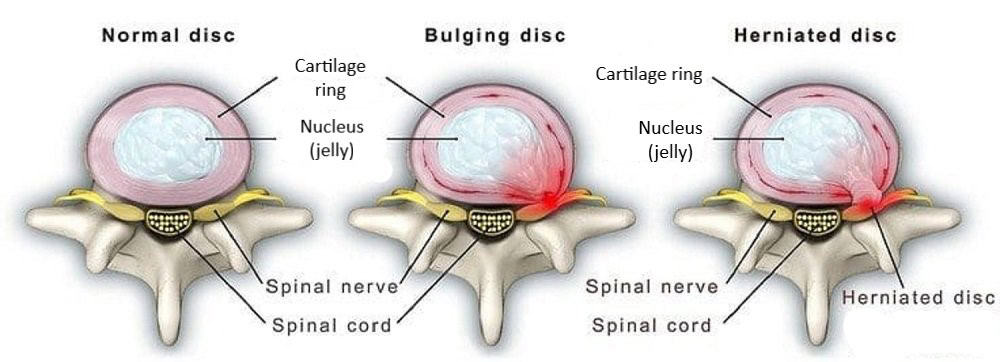
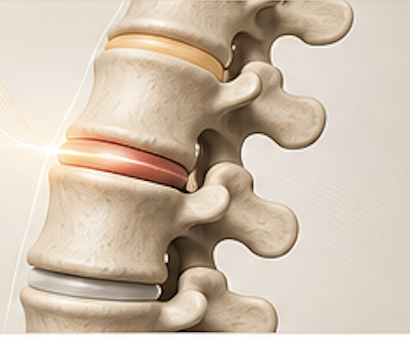
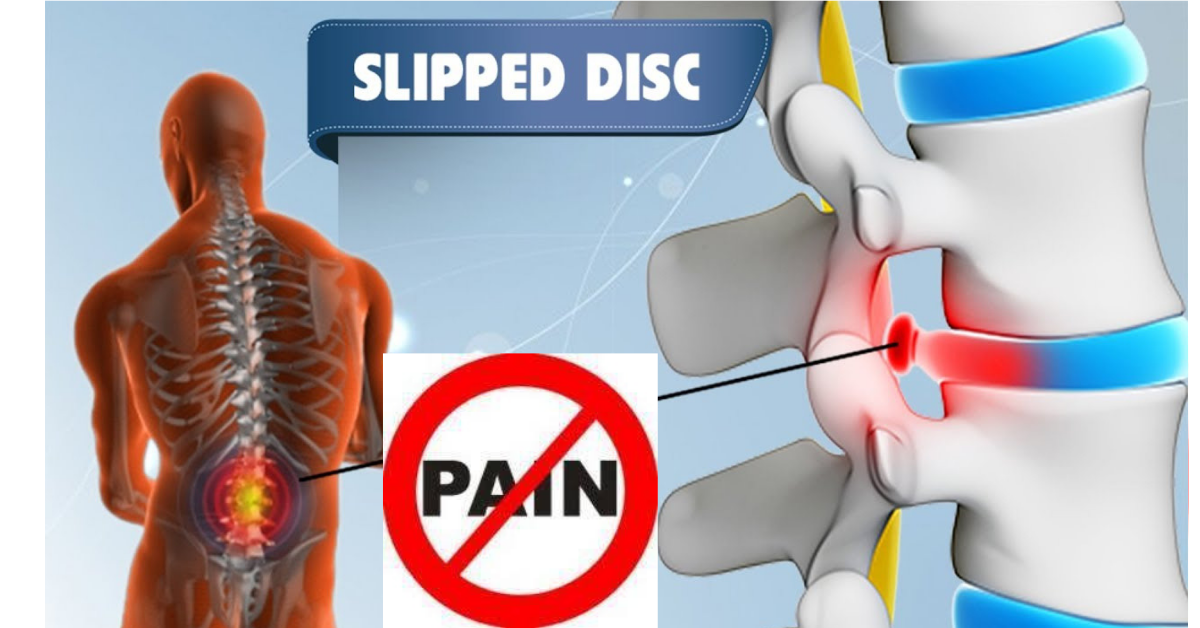
All along the spine, intervertebral discs separate and cushion each vertebra. An intervertebral disc consists of two layers: an inner, jelly-like layer called the nucleus pulposus and an outer, fibrous layer called the annulus fibrosis.
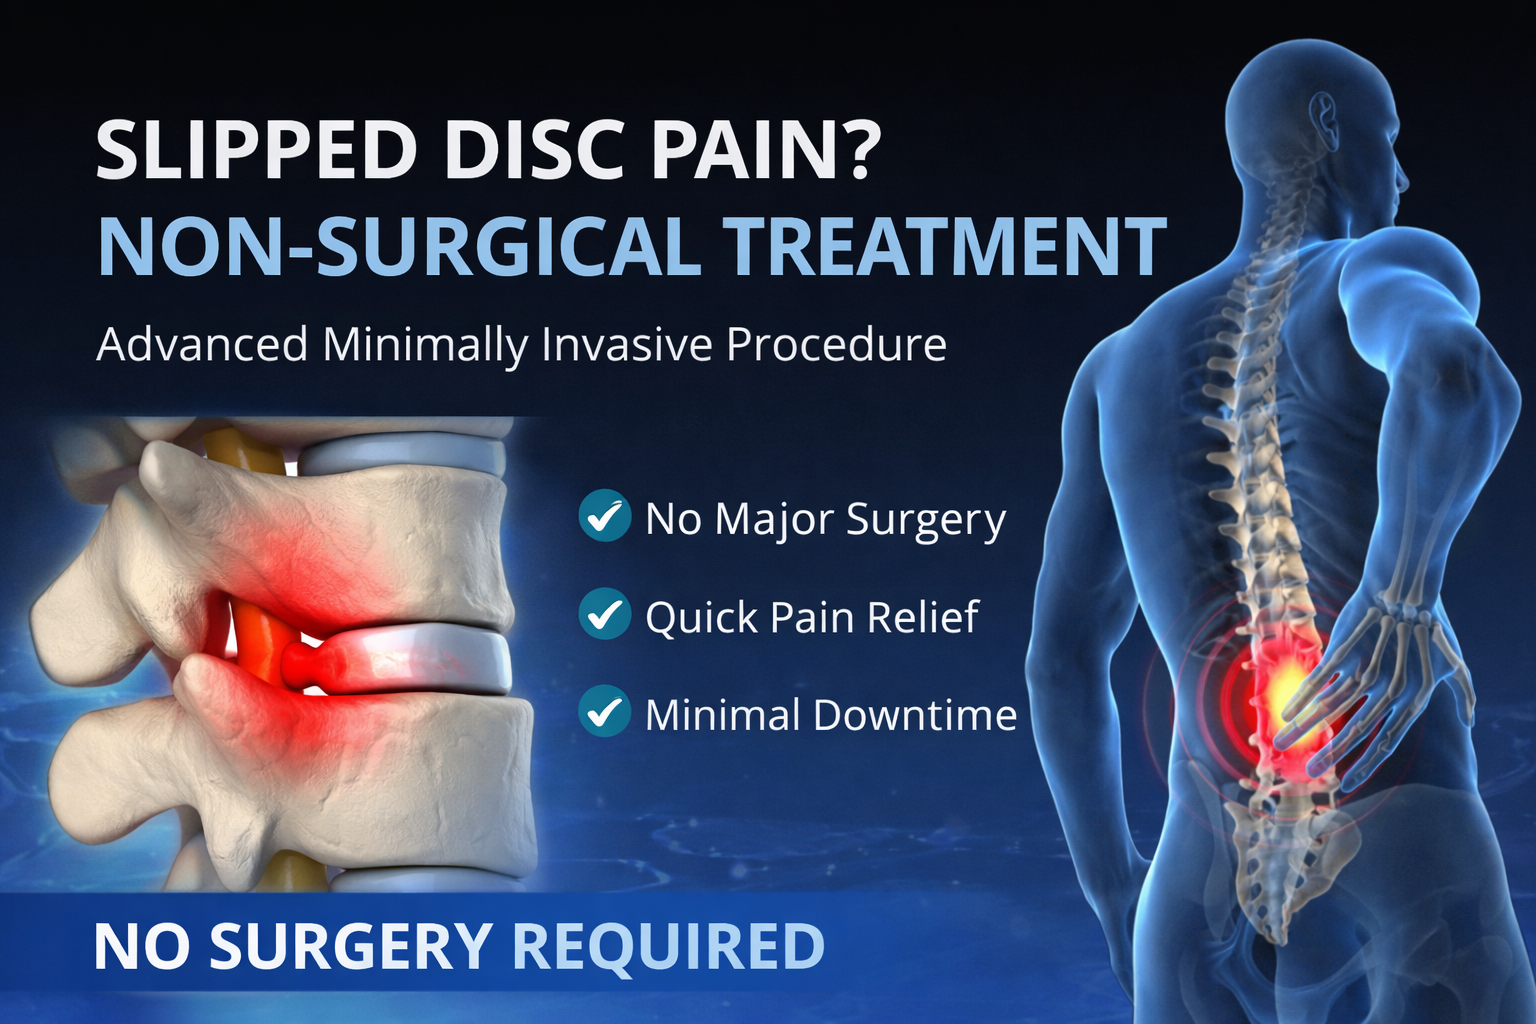
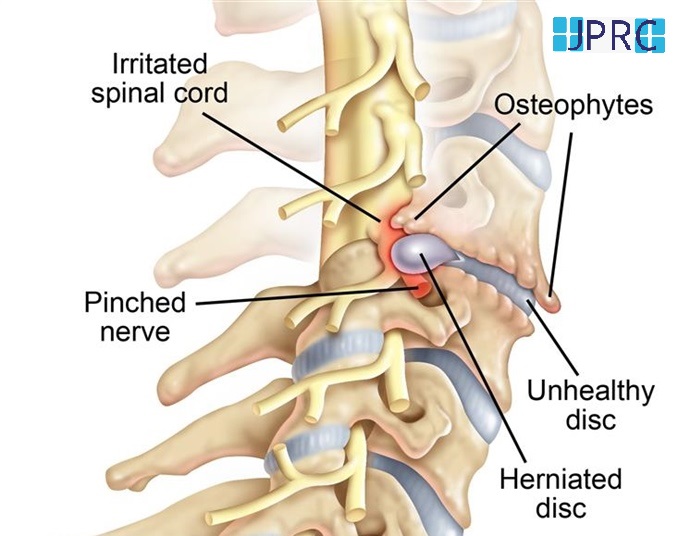
These intervertebral discs help the vertebrae move smoothly in the spine without bone-on-bone contact. A herniated disc occurs when some or all of the inner layer of the intervertebral disc ruptures through a weakened point in the outer layer. When the jelly-like inner layer leaks out through the outer layer, there is no cushion between the vertebrae. This can cause debilitating pain and inflammation.
A herniated disc occurs most frequently in the lumbar spine, specifically between the L4 and L5 vertebrae. This is the lowest region of the lumbar spine and may be less flexible than other vertebrae in this region. For this reason, it may be more susceptible to injury or the consequences of deterioration than other, more flexible parts of the spine.
What causes disc herniation?
Herniated discs have two major causes: normal spinal ageing along deterioration and injury. Both of these can be compounded by several risk factors, including:
- Obesity
- Diet
- Smoking
- Genetics
Sometimes patients will be diagnosed with a bulging disc and be curious as to how that differs from a herniated disc. The major difference between a herniated disc VERSUS bulging disc is that a herniated disc has actually split open and leaked intervertebral fluid. A bulging disc is common, especially as we age. The intervertebral disc bulges out between vertebrae but retains its integrity (and jelly-like fluid, too).
A bulging disc can be just as painful as a herniated disc, though. The pressure a bulging disc places on nerves in the spinal column can produce pain, tingling, pins and needles sensations, and other symptoms. If a bulging disc is caught early, it may be possible to treat it before the condition worsens or turns into a herniated disc.
Should I try Herniated disc Exercises?
The short answer to the question of whether or not you should try herniated disc exercises is no – that is until you have talked with your doctor and cleared it with them first.
They may also suggest you start your work with a physical therapist who can guide you and make sure you are helping, rather than hurting, your condition.
Once you get the all-clear, here are 14 safer exercises for herniated disc, and four movements or exercises to avoid.
Relatively safer exercises for herniated disc
Safe exercises for herniated disc stretch the long muscles of the hamstrings, stretch across the hips to relieve any sciatic pain you may be experiencing and build strength in the core and back of the body to support a long, tall spine.

1. Seated hamstring stretch (with a chair)
Sit on a chair with another one in front of you. Keep one leg on the ground and place the other leg on the other chair. Sit up tall, extending to the crown of your head to the sky, and on an exhale, hinge at the hips to fold forward over your extended leg.
Only go as far as you can without rounding your back (this may not be very far, to begin with). Think more about bringing your chin down rather than your head forward. Hold the stretch for at least 15 to 30 seconds, coming out of the stretch on an inhale. Switch legs. Do both sides three times a day.
2. Towel stretch
Lie on your back with both legs extended straight out on the ground. Bend one knee into your chest and loop a towel (or a belt or strap) around the ball of your foot. Extend that leg to the sky, straightening it until you feel a stretch in the centre of your hamstrings.
Keep both feet flexed. Hold for 15 to 30 seconds, then release and switch. Repeat on the other leg. Complete this stretch two or three times a day.
3. Wall stretch
This is a good option if you find holding your leg up in the towel stretch challenging.
Lie on the ground near the corner of a wall or a doorjamb. Extend one leg long and bend the other knee, placing the foot of the bent leg on the wall. Slowly straighten the bent leg up the wall until you feel the stretch. Hold for 15 to 30 breaths, then switch (you will need to move to the other side of the corner of the door for this to work).
4. Seated figure-4 stretch
This is a great stretch to do whenever you are seated. Sit up tall and place both feet on the ground directly below your knees.
Lift your right foot and place the right ankle on your left knee. You may already feel a good stretch in your right hip. If you don’t, gently press your right knee towards the ground while hinging forward. Hold for 30 seconds then switch legs.
5. Supine figure-4 stretch
Lying down allows gravity to work for you. Lie down on the ground. Bend your knees and place both feet on the ground.
Lift your right foot off the floor and place your right ankle on your left knee. Gently press your right knee away from you. If you would like more stretch, interlace your hands behind your left thigh and lift your left foot off the ground, bringing the whole shape towards you.
Hold for 30 seconds, breathing deeply, before releasing and switching to the other side.
6. Figure-4 at the wall
Sit with your back against the wall and both knees bent, feet flat on the floor in front of you.
Lift your right foot off the floor and place your right ankle on your left knee. Gently press your right knee away from you. If you want more stretch, walk your left foot towards your body. Hold for 30 seconds, breathing deeply, before releasing and switching to the other side.
7. Spinal decompression
This can be done in a doorway (or from a tree branch or jungle gym at the park). Find a safe place to hang from, grab on, and allow your body to hang. The weight of your lower body will bring space to the vertebrae. Hold for as long as you can, and repeat three times.
If you’re unable to do this pose, lying safely on a declined surface with your head angled down can also help decompress your spine.
8. Cobra pose
Start lying on your stomach with your hands positioned at mid-chest level (elbows bent and hugged close to the body). Take a deep breath in, and as you do, imagine the crown of your head reaching forward and up as you roll your shoulders onto your back and press into your hands to rise slightly.
Start with a low cobra, only rising as high as you can hold without pressing into your hands, gradually progressing into a full cobra with elbows hugged into the body. You can hold for 15 seconds, or you can treat this as a strengthening exercising, rising slowly and with control on the inhale and lowering the same way on the exhale.
9. Cat-Cow
Start in a neutral tabletop position with your hands beneath your shoulders and knees directly beneath your hips. Inhale, allowing your navel to soften towards the ground, tailbone to lift, heart to reach forward, and gaze to lift (arch the low back).
Exhale and round in, dropping your tailbone and rounding into the low, mid-, and upper back. Complete five rounds, allowing your breath to start the movement.
10. Starfire
Begin again in a neutral tabletop position with your hands beneath your shoulders and knees directly beneath your hips. On an inhale, extend your right leg behind you, toes on the ground, while reaching your left hand forward, thumb facing the sky.
Engage your core by pressing your navel to your spine (keep it there for the whole exercise). You can lift the back leg (toes of the lifted foot facing down), creating a straight line (level hips) from fingers to heel.
Another strengthening option is to bend the extended elbow and knee on an exhale and bring them to touch underneath the body, inhaling to straighten. Repeat this movement three times, or just hold for five full breaths. Repeat on the other side.
11. Plank
The plank can be done with the forearms down or with the arms extended (as in a high push-up).
Whichever you choose, keep the hips in line with your heels and shoulder blades on the back. Extend the crown of the head forward and press your navel to your spine. Hold for 30 seconds, gradually building to two minutes.
12 Supported side plank
Begin again in a neutral tabletop position with your hands beneath your shoulders and knees directly beneath your hips. Pivot your left foot out so that it forms a kickstand behind you and extend your right leg behind you in a straight line.
Inhale and open your body, stacking hips and shoulders on top of each other. You can leave your right hand on your hip, or you can extend it to the sky. You can straighten both legs and balance on the sides of your feet, or stay with one leg supporting your weight and balance.
Roll the tops of your shoulders back to keep your shoulder blades on the back and engage your navel to your spine. Breathe deeply and hold for five breaths before switching to the other side.
13 Child’s pose
The child’s pose is great to perform between side planks. Come to hands and knees, and then sink your hips to your heels, forehead to the ground.
If your knees hurt, place a block or a bolster under your hips. If your forehead doesn’t quite touch the ground, support it with a block (or one fist stacked on top of the other).
14 Low impact whole-body exercise
Low impact aerobic exercise like walking, biking, and swimming can improve your overall health and keep your back strong. Start with just ten minutes of exercise a day (or as directed by your doctor), gradually increasing the intensity or duration as you feel able.
Herniated disc exercises to avoid at all costs
Unwanted exercises may cause an emergency surgical or medical situation.
The following movements can make the pain of a herniated disc worse and should be avoided.
- Sit-ups: These place tremendous pressure on the lower back.
- Leg lifts: Many people use their lower back for leg lifts instead of the core. This can result in further injury and muscle strain.
- Unsupported forward bends: In addition to being incredibly painful, unsupported forward bends place stress on already-injured ligaments and tendons in the back.
- High impact exercise: Running and other high impact exercises can further compress the vertebrae. Take a break from high-impact activity as you heal.
A comprehensive treatment plan for herniated discs
Targeted exercise is often the first-line treatment for the herniated disc. Your doctor may recommend working closely with a physical therapist to begin. As you start your doctor-approved exercise regimen, your doctor may also suggest non-steroidal anti-inflammatory drugs (NSAIDs), like aspirin. NSAIDS work to decrease inflammation and pain so that you can move and strengthen your body with less pain.
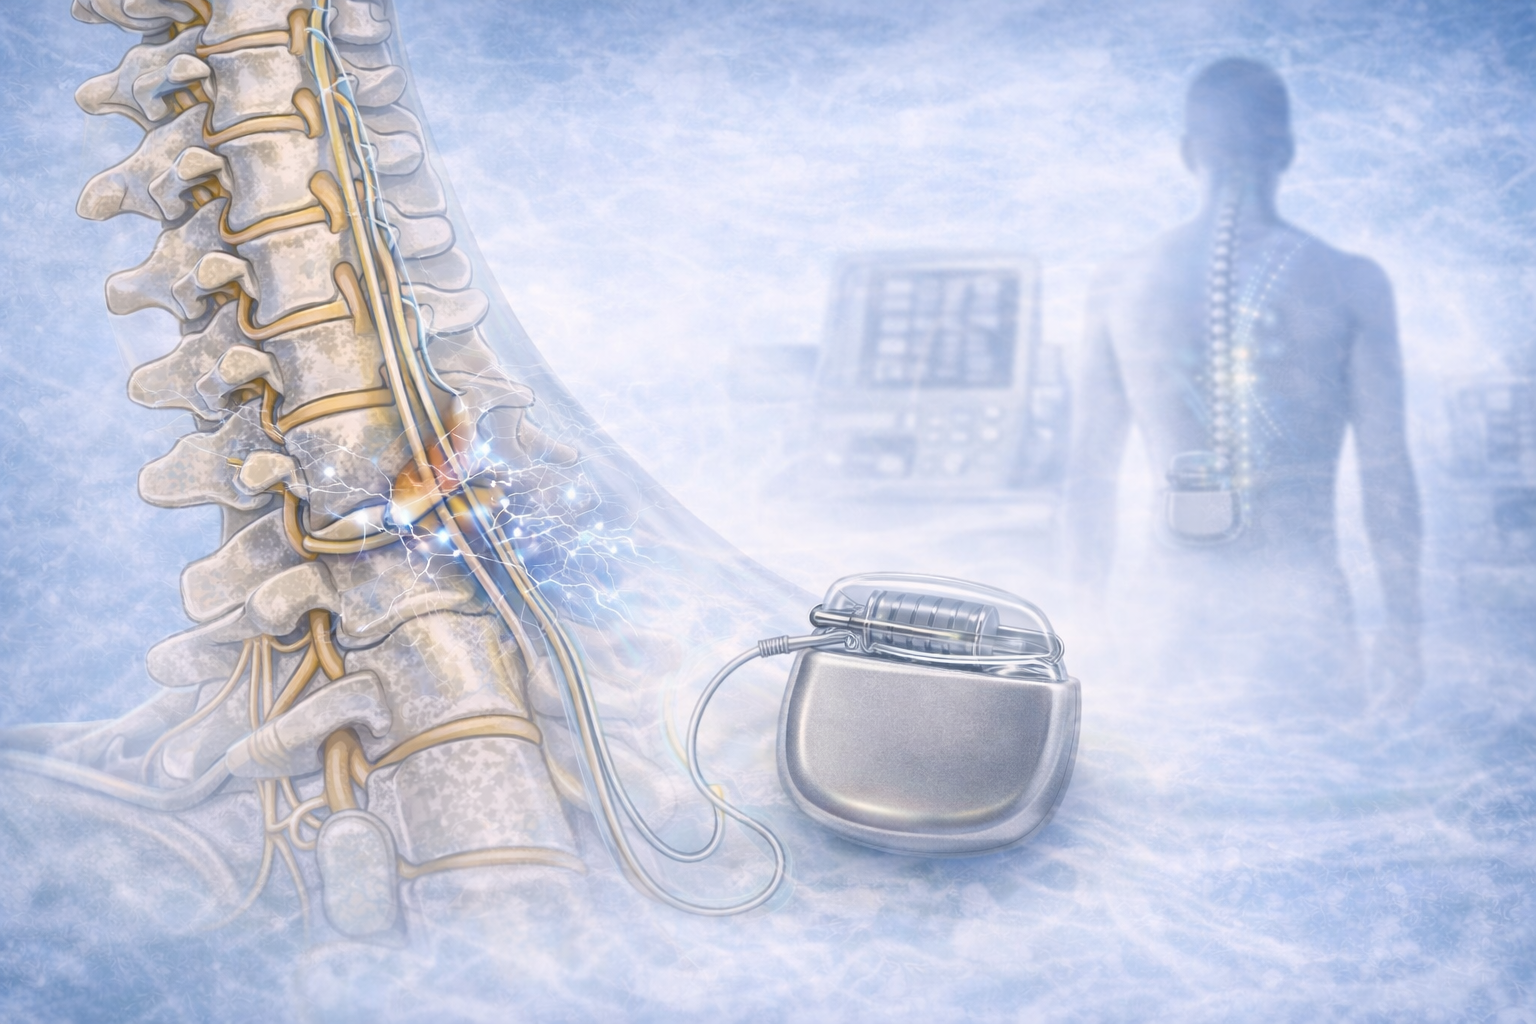
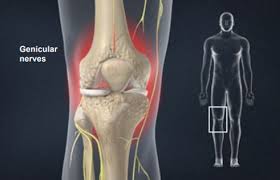
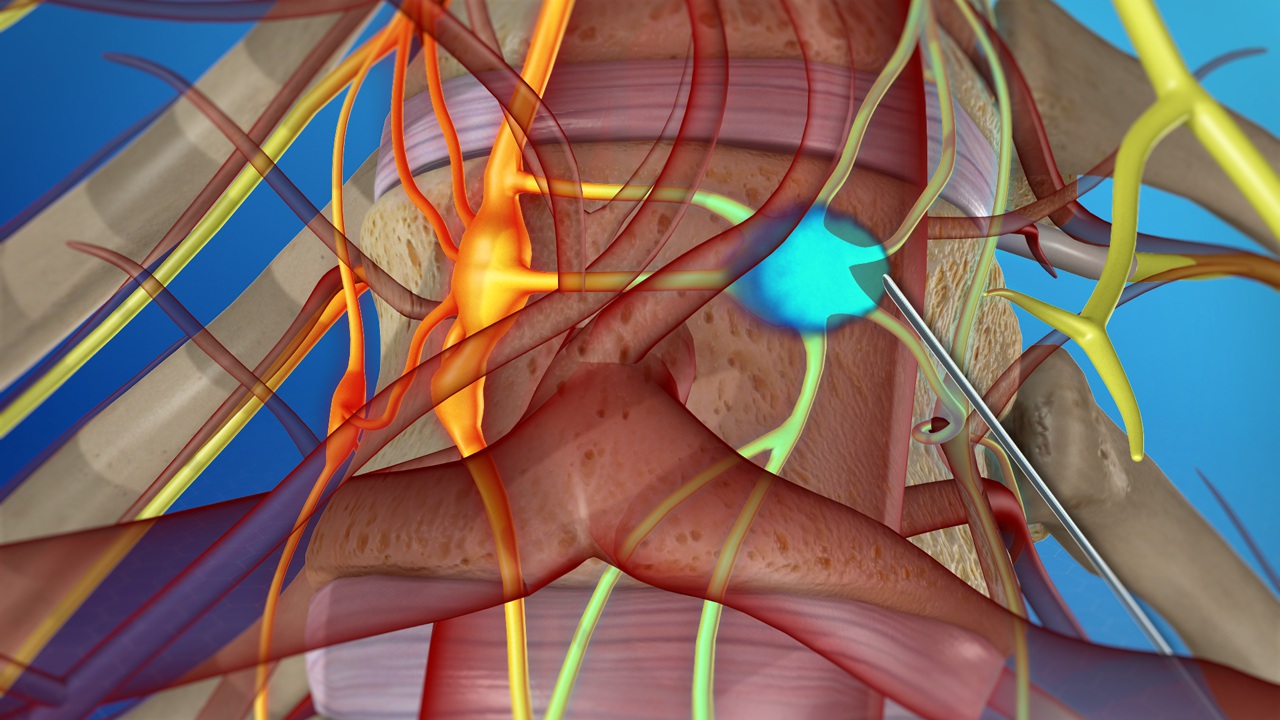
Epidural steroid injections or nerve blocks are injections that can be used as a diagnostic tool as well as a way to ease the pain. These are minimally invasive but can provide further relief during exercise and other therapies.
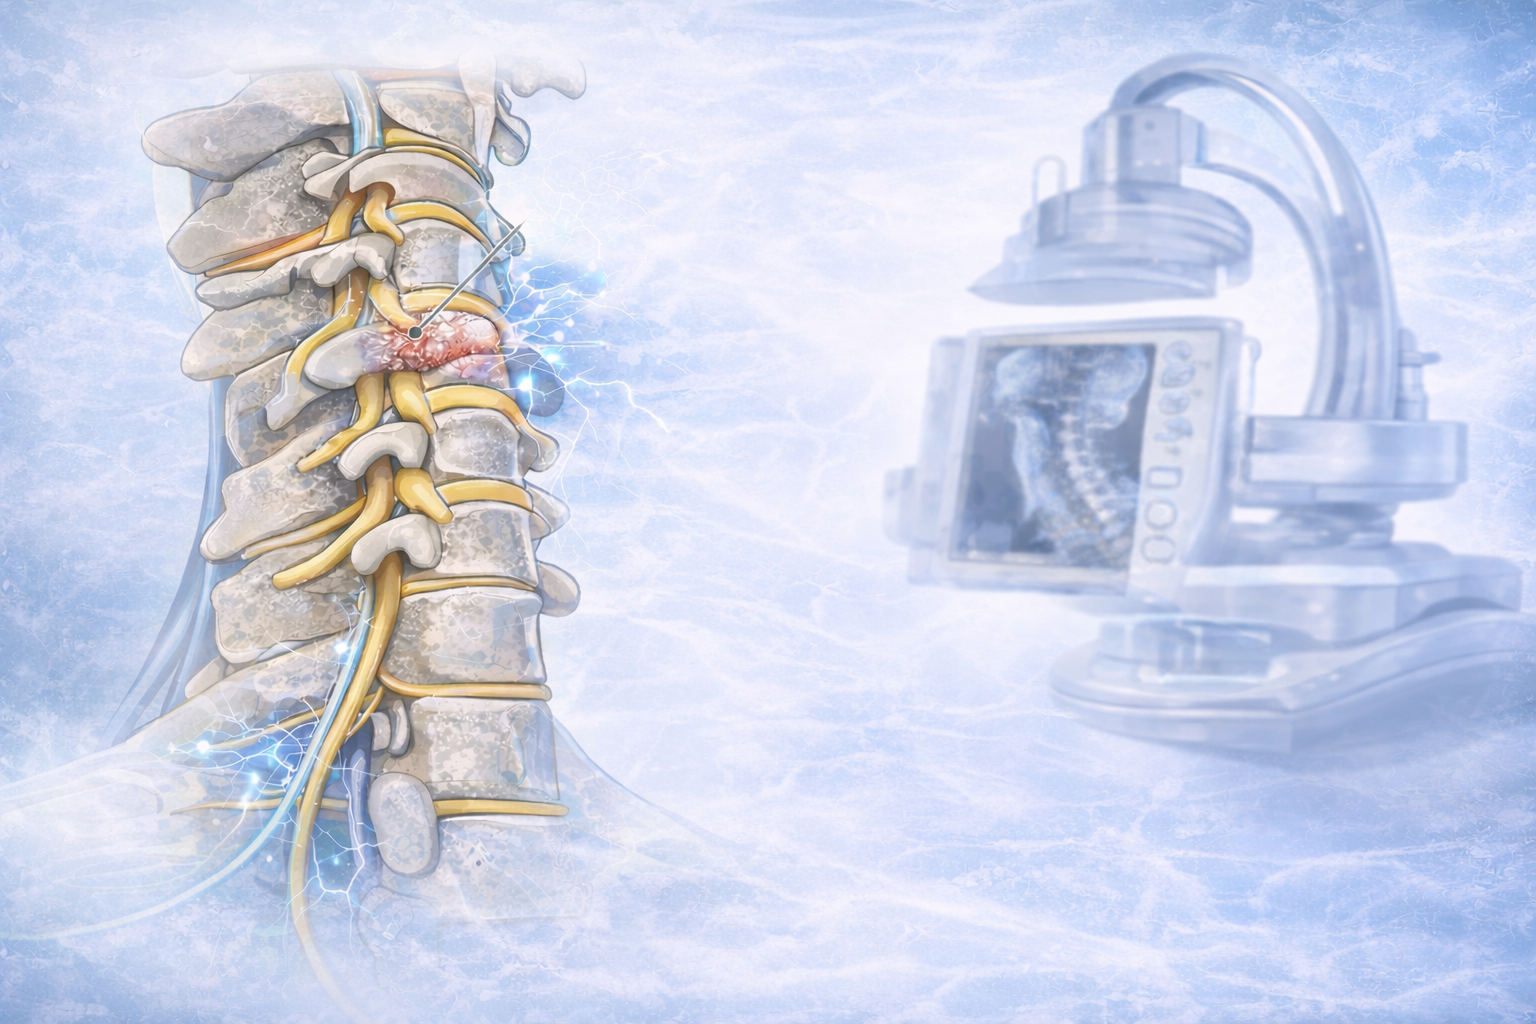
If patients continue to experience pain, or symptoms worsen, surgery may be the only remaining option. A discectomy may be performed to remove the herniated disc material that is irritating the spinal nerves. In very rare cases, the entire intervertebral disc needs to be removed. In these cases, the fusion of the vertebrae with metal hardware may provide stability to the spine. Even after surgery, patients can expect an extended period of physical therapy and exercise to prevent herniation (something that occurs in between five and 10% of those with a herniated disc).
If you are experiencing the symptoms of disc herniation and herniated disc exercises haven’t worked, it may be time to work with a pain specialist to design the least invasive treatment plan. You can find a pain doctor


.jpg)


_Injection_Description_in_Hindi.jpg)


.jpg)


.jpg)


.jpg)
.jpg)
.jpg)


.jpg)
.jpg)
.jpg)
.jpg)
.jpg)
.jpg)
.jpg)
.jpg)
.jpg)
.jpg)
.jpg)
.jpg)
.jpg)
.jpg)
.jpg)
.jpg)
.jpg)
.jpg)
.jpg)
.jpg)
.jpg)
.jpg)


1.jpg)
1.jpg)
1.jpg)
1.jpg)
1.jpg)
1.jpg)
1.jpg)


2.jpg)
3.jpg)


4.jpg)
1.jpg)
2.jpg)

5.jpg)

6.jpg)


7.jpg)
2.jpg)

8.jpg)

9.jpg)
3.jpg)

10.jpg)

11.jpg)


12.jpg)
4.jpg)